Paint & bodywork
Car dent repair, step by step: from dent to factory finish
A dent repair is judged by what you can't see: a panel that looks straight from every angle, a colour that matches, and no ripples under the light. Here's how that's done, one stage at a time.
In short
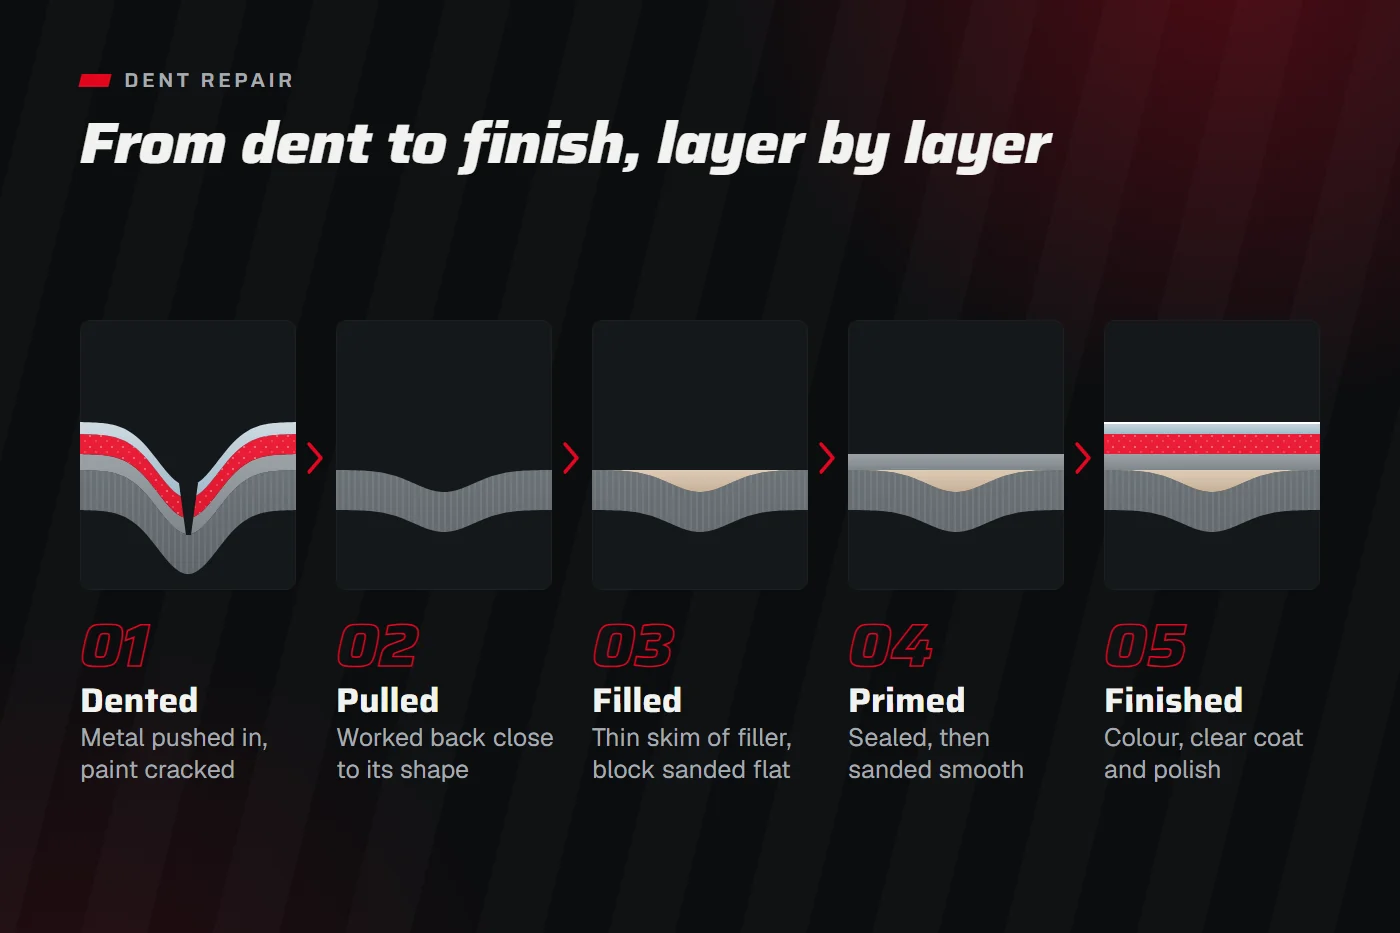
- The metal is brought back as close to its original shape as possible before any filler goes on.
- Filler is a thin skim, block sanded flat. Thick filler cracks and shrinks.
- Primer seals the repair. Colour and clear coat go on in thin coats and are polished.
- Check a repair in daylight by looking along the panel at a low angle for ripples.
Not all dents are the same
How a dent is repaired depends on its shape, where it is, and what happened to the paint.
- Round, shallow dents in the middle of a door or bonnet, often from a knee, a ball or a careless parker. Usually the easiest to bring back.
- Creases, where the metal has folded, especially along a body line. The metal is stretched, so restoring the shape takes more work.
- Edge dents on the edge of a door, bonnet or boot lid, where the metal is folded double and very stiff.
- Bumper damage on plastic bumpers: dents, scrapes, cracks and broken mounting tabs.
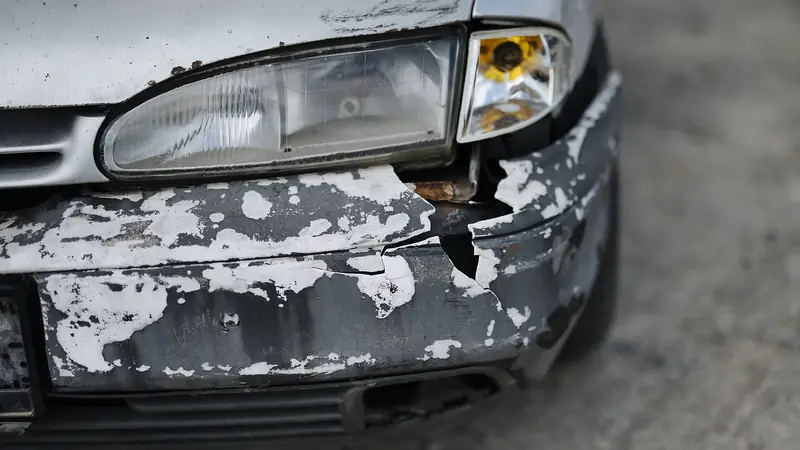
- Dents with damaged paint, where the paint has cracked or flaked off. These always need repainting.
Can a dent be fixed without repainting?
Sometimes. If a dent is shallow, the paint isn't cracked and the metal isn't creased, it can occasionally be worked out from behind so carefully that the original paint survives. This is often called paintless dent repair. Once the paint is cracked, or the metal has a sharp crease or has been stretched, the panel needs the full process below. We'll tell you which kind of dent you have when we see it.
Step 1: Inspect and plan
Before any tools come out, the damage is checked in good light from several angles. A dent that looks small from the front can run further than you'd think, and a hard knock can bend brackets behind the panel or push it out of line with its neighbours. We look at the panel gaps, how the doors and bonnet close, and whether anything behind the panel is damaged. Then we agree the work, the colour and the price with you.
Step 2: Remove parts and strip the damage
Handles, mirrors, lamps, mouldings and trims near the repair come off. That keeps them from being damaged, and it means the paint finishes cleanly at the panel edge instead of stopping at a taped line. The paint around the dent is then sanded away, so the metal can be worked and the full extent of the damage is visible.
Step 3: Pull and beat the metal back to shape
This is the most skilled part of the job, and the part that's most often rushed. Depending on the dent, the metal is pushed out from behind, pulled from the front with a dent puller, or worked with a hammer and dolly, a shaped steel block held behind the panel. The aim is to get the metal as close as possible to its original shape, so very little filler is needed afterwards.
Any rust is dealt with at this stage too, treated or cut back to clean metal. Filling over rust is the most common reason a repair bubbles a year later.
Step 4: A thin skim of filler, block sanded flat
Even a well-straightened panel has small low spots. Body filler fills those, and it's then block sanded with a long, flat sanding block until the panel is flat to the touch. A good painter checks by running a flat hand across the panel: you can feel ripples that you can't see yet.
Is filler bad? No. Body shops everywhere use it. The problem is thick filler used instead of straightening the metal. A thin skim stays stable for years. A thick lump can crack, shrink or even fall out when the panel flexes or heats up in the sun.
Step 5: Prime and mask
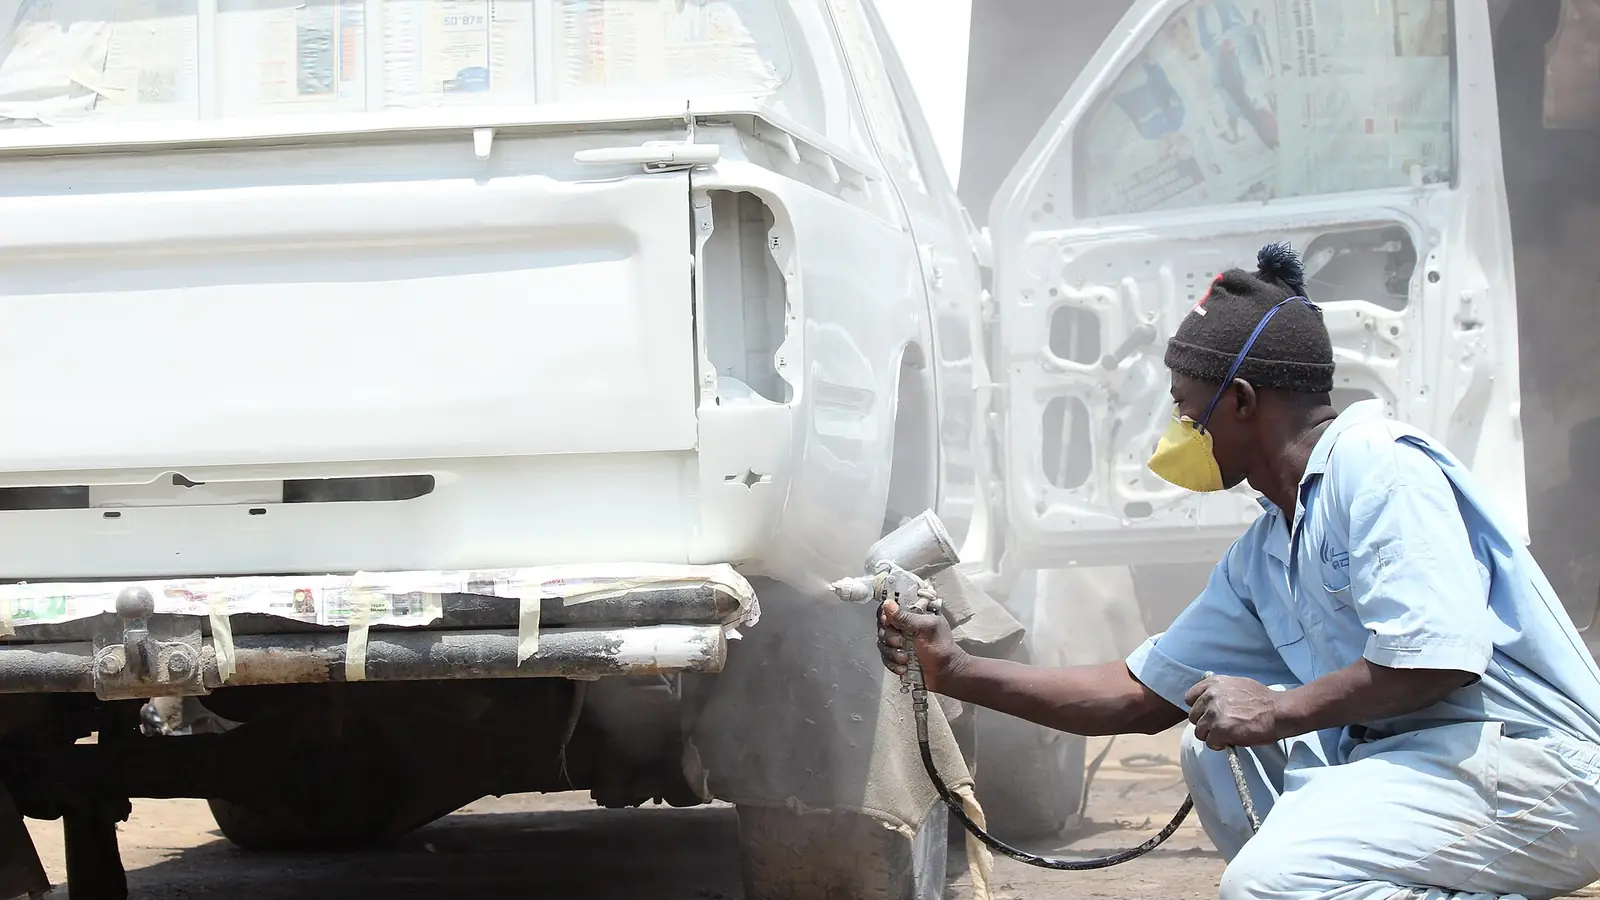
Primer goes over the bare metal and filler. It seals them from moisture, helps the colour bond, and fills the fine scratches left by sanding. Once it has hardened, it's sanded smooth again. Then everything that isn't being painted is masked off: glass, rubbers, wheels and the rest of the car.
Step 6: Spray the colour
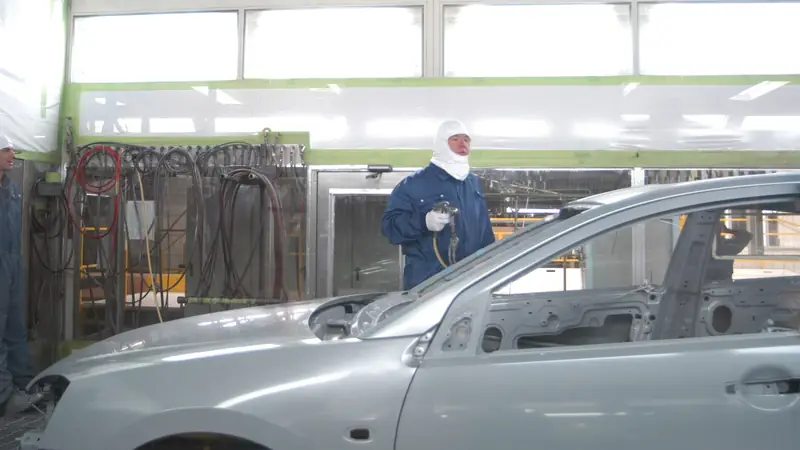
The base colour is mixed to your car's factory colour code and sprayed in thin, even coats inside the booth. Several thin coats give better coverage and a more even metallic effect than one heavy coat, which can run or leave the flakes patchy. The colour is usually blended slightly onto the neighbouring panels so the new paint disappears next to the old. Here's why blending matters.
Step 7: Clear coat
Clear coat goes over the colour. It gives the paint its gloss and depth, and protects it from sun, rain, bird droppings and fuel. Several coats go on, so there's enough thickness to polish later without cutting through.
Step 8: Wet sand, polish and refit
Once the clear coat has hardened, any dust specks or texture are wet sanded out with very fine paper, and the area is machine polished to a mirror finish. Then the parts go back on, and every panel is checked under the booth lights and again in daylight before you get your keys back.
Plastic bumpers are a different job
Most modern cars have plastic bumpers, and they need a different approach. Small dents in plastic can often be eased back with heat, and depending on the damage, cracks and broken mounting tabs can often be repaired rather than replacing the whole bumper. Plastic also needs its own preparation before painting, so the colour grips and flexes with the bumper instead of cracking. When a bumper is badly torn or has lost most of its tabs, a replacement can work out better, and we'll tell you if that's the case.
Dents on bikes and scooters
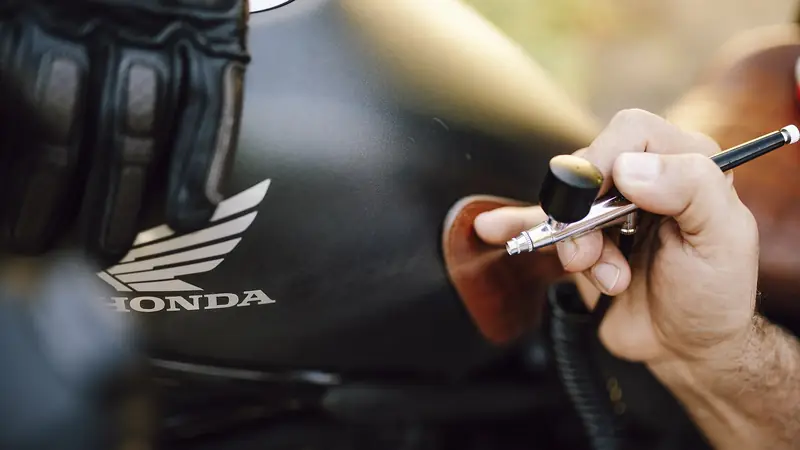
On a bike, the fuel tank is where a dent hurts most. It's the centrepiece of the bike, and it needs extra care: the tank is drained and made safe before any work starts. Tank dents are often on tight curves that are hard to reach from inside, so they take patience to bring back. Scooter side panels are mostly plastic and are repaired much like bumpers. Either way, a dented, faded tank is one of the first things a buyer notices, so it's worth fixing before you sell.
How to check a dent repair when you collect your car
- Look along the panel, not at it. Crouch at one end and look down its length in daylight. Ripples and low spots show up as wobbles in the reflection.
- Compare the colour with the next panel, both in the sun and in the shade.
- Check the gaps between the repaired panel and its neighbours. They should be even all the way along.
- Look for overspray on the rubbers, glass, trims and inside the wheel arches.
- Check the texture. The repaired panel should have the same gloss and smoothness as the rest of the car.
At Rebooterz, dent and panel repair is done in-house before every paint job, so the same hands handle the metalwork and the finish.
Questions we get asked
How long does dent repair take?
A single dented panel is often done in a day. Bigger dents, creases or several panels take longer, because each layer needs time to dry before the next stage. We give you a timeline with the quote.
Will the repaired area rust later?
Not if it's done properly. Rust is treated back to clean metal before filler and primer go on, and the primer seals the bare metal. Repairs bubble when filler or paint goes over rust that wasn't treated.
Is it better to replace a panel than repair it?
Most dents are better repaired, because the original panel fits perfectly and keeps the factory gaps. Replacement makes sense when a panel is torn, badly creased across a large area or rusted through. Either way, the panel still needs painting to match.
Can you fix a dent on my bike's fuel tank?
Yes. The tank is drained and made safe first, the dent is worked out, and the tank is repainted to match, or in a new colour or design if you want one.

Written by the Rebooterz teamWe're a car and bike paint and bodywork garage in Thiruverumbur, Trichy. Over five years we've finished more than 120 vehicles, from scratch and dent repairs to full resprays, airbrush art and restorations, and we now buy and sell used bikes too. More about us.